Mailchimp is an email marketing and automation platform for businesses using email to reach out to their target markets.
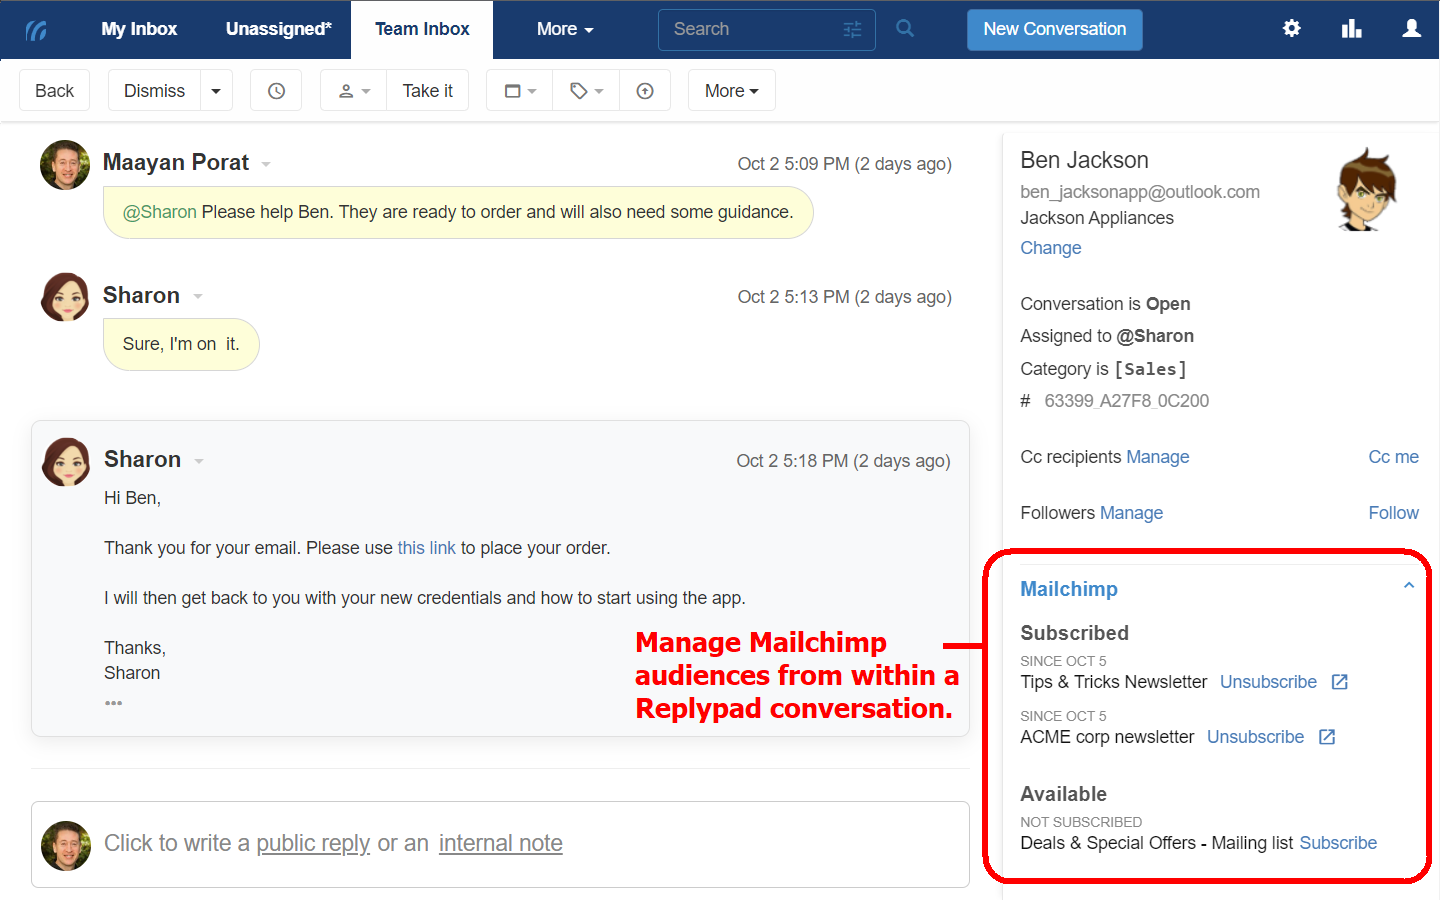
With this Mailchimp integration, all team members become more efficient by handling mailing list subscriptions right from the context of the conversation.
With the Replypad – Mailchimp integration, users in Replypad can:
All is done directly from the conversation in Replypad.
Enable Mailchimp integration
To use the Mailchimp integration, a workspace administrator must first install the Mailchimp app in your workspace (see below).
If Mailchimp integration is disabled for your user, you can enable it for yourself:
- Visit Settings > Apps / Integration and visit the Installed tab.
- Locate the Mailchimp installed app (if you cannot locate it, make sure your administrator has installed it and shared it with you).
- Click the Enable button.
- The Mailchimp app link now appears in the sidebar of the conversation details page.
Using the Mailchimp app in Replypad
To use the integration:
- Visit an existing conversation or start composing a new one.
- The Mailchimp app appears in the conversation’s sidebar area.
- Click the Mailchimp app title on the sidebar to expand, view subscription information, and perform actions (see below).

The details from Mailchimp that are displayed include the following:
- Subscribed Audiences:
A list of the audiences this contact is subscribed to and SINCE when. - Available Audiences:
Audiences that this contact did not subscribe to. Possible statuses are:- NOT SUBSCRIBED, which means the contact hasn’t subscribed yet.
- UNSUBSCRIBED, means the contact has already been subscribed to this audience and removed (either by themselves or by someone else).
Actions you can perform directly from Replypad:
- Click open in a new tab icon to open the contact’s details in Mailchimp.
- Click the Subscribe link to subscribe this contact to an Audience in Mailchimp.
- Click the Unsubscribe link to unsubscribe the contact from an Audience in Mailchimp.
If a contact has explicitly unsubscribed from an audience in the past, Mailchimp requires their permission to subscribe again. In this case, when someone clicks Subscribe in Replypad, this will trigger Mailchimp to send a confirmation email to the contact. In the meantime, Replypad will indicate the contact as “NOT SUBSCRIBED” until the user in Mailchimp approves the subscription.
Disable the integration with Mailchimp
To disable the Mailchimp app for yourself, follow these steps:
- Open Settings > Apps / Integrations.
- Under the Installed tab, look for and select the Mailchimp app you want to disable.
- Click the Options button and select Disable.
Install Mailchimp integration
You need to be an administrator to manage and install apps and integrations.
- In Replypad, open Settings > Apps / Integrations.
- In the App Directory tab, look for the app to install and click it. The app will direct you to a page that displays additional information about this app.
- Click the Install button.
- In the window that opens, click Proceed to get redirected to the Mailchimp website.
- You may be asked to log into Mailchimp.
- Mailchimp will display a page asking you to authorize Replypad.
- Click Allow.
- Once approved, you will automatically return to Replypad, and the app will be ready for you to use.
- The installed Mailchimp app will show under the Installed tab.
- You may want to rename the instance of this Mailchimp app installation, which will affect the display name in Replypad’s sidebar.
- By default, the installation of Mailchimp integration enables it for all users. You may want to manage which users have access to the Mailchimp integration.