Replypad’s integration options allow you to continue using the apps you love and enjoy their benefits within Replypad. The transition is seamless to help you streamline your processes.
How does it work?
You need to be an administrator to manage and install apps and integrations. The first step is to install the new app.
Some apps require authorization in order to use the integration. Authorization may be required by the administrator while installing the integration, or by each user, when they use the integration for the first time.
Install a new app
You need to be an administrator to manage and install apps and integrations.
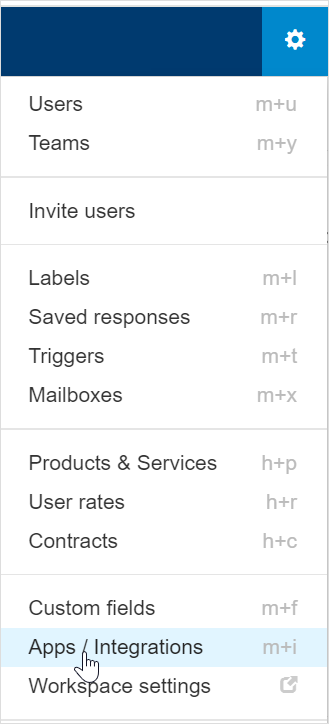
- In Replypad, open Settings > Apps / Integrations.
- In the App Directory tab, look for the app to install and click it. The app will direct you to a page that displays additional information about this app.
- Click the Install button.
- Follow the instructions on the screen.
- When done, the installed app will show under the Installed tab.
Manage users access
Managing users’ access controls which users in your Replypad workspace have access to an installed app. Users who have access can see and use this integration within your Replypad workspace.
- Open Settings > Apps / Integrations.
- Under the Installed tab, look for the relevant app.
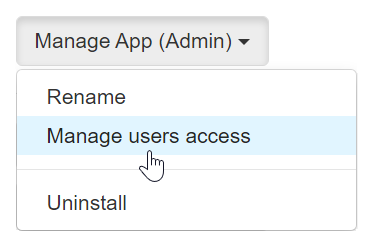
- Click Manage app (Admin) and select Manage users access.
- In the window that opens, select or deselect users you want to grant or deny access to the integration.
- Click Save.
Rename an installed app
- Open Settings > Apps/Integrations.
- Under the Installed tab, look for the relevant app.
- Click the Manage App (Admin) button and select Rename.
- Set the new name for this installed app
- Click Save.
Uninstall an app
- Open Settings > Apps/Integrations.
- In the Installed tab, search for and select the relevant app.
- Click the Manage App (Admin) button and choose Uninstall.