What are the workspace settings?
Workspace settings are the place to define settings that apply for the whole workspace. Only administrators have access to the workspace settings.To update the workspace settings:
- You need to be a workspace administrator.
- You can access the settings from the following places:
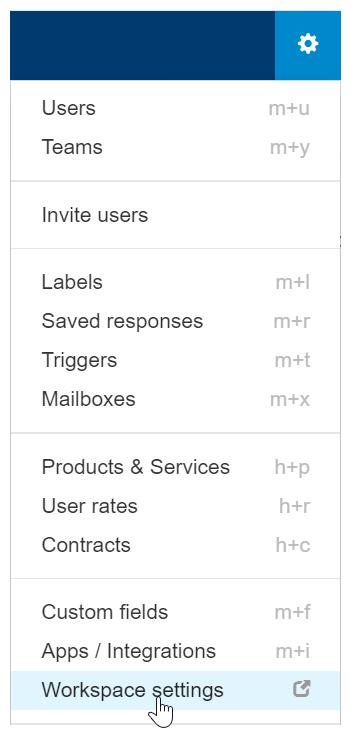
- From the main application window, click the Gear icon in the top-right corner and choose Workspace Settings.
- Click your Workspace name on the top-left corner of the toolbar at the top and select Manage workspaces. From the workspaces management screen, find the workspace you want to change, click the gear icon in the bottom-right corner of the workspace, and choose Workspace Settings.
The following settings can be changed for your workspace:
Name
The workspace name is how people see your workspace when they are in Replypad. This is normally your brand and the service you provide, for example Acme Support Desk. To modify the workspace name:
- Hover over the current name and click Edit when it appears.
- Edit the name and click Save.
Logo
The workspace logo will be displayed in the workspaces management window, and will be used as the avatar for tickets when being viewed by customers.
To add a logo:
- In order to setup your logo you need to be a workspace administrator.
- To open the workspace setting, click on the gear icon in the upper-right corner, and select Workspace Settings from the dropdown menu.
- Under the Logo section, click Upload to open the upload window.
- Click Upload logo file to upload the image itself.
- Click Save to save your changes.
Web Address
This is the address that you, your team and contacts should visit to log in to your workspace. For example: mytestworkspace.replypad.com – the subdomain (“mytestworkspace”) can be edited and modified. If you change your URL, the old address will still work and redirect to the new one. We don’t recommend changing the URL often, perhaps for cases you find a mistake in the URL or if you are not happy with the current URL for some reason.
- Hover over the current URL and click Edit when it appears.
- Edit the name. Once you change it, the indication will show you whether the domain is valid.
- After you enter the new domain name, make sure the validation indication shows “valid available” under the new name.
- Click Save to change the URL.
Time Zone
The workspace time zone is usually where most workspace users or your head office’s location are.
The workspace time zone affects how we determine the time in email notifications and how we retrieve data for reports:
- Email notifications that include the email threads use the time zone to determine the timestamps attached to each message in the thread.
- Reports retrieve data based on the workspace timezone, regardless of where you perform the query.
To change the time zone:
- Hover over the current time zone and click Edit when it appears.
- Select the time zone you want to use from the list and then click Save.
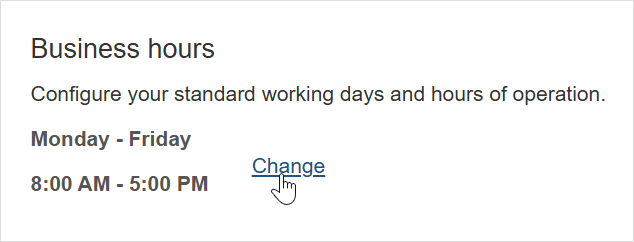
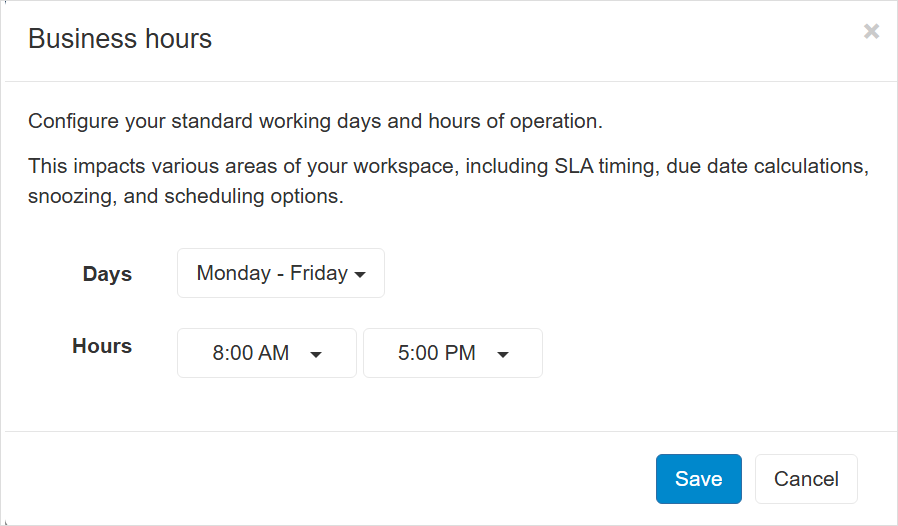
Business hours
Business hours affect various areas in the workspace, such as SLA timing, due date calculations, snoozing, and scheduling options.
Click Change to update business hours to reflect yours:
Currency & Number format
The currency & number format settings define how currency amounts and numbers are displayed in your workspace.
The selected currency is used for all amounts, prices, rates, and other financial values. The selected number format controls the display of numbers, including decimal separators and thousands separators.
Click Edit to update the currency and number format:

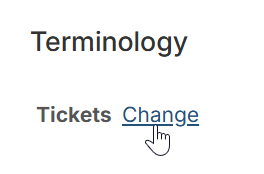
Terminology
The terminology setting allows you to customize the terms used and displayed throughout your workspace.
This setting determines how customer requests, issues, problems, and discussions are referred to in the app.
Click Change to select the term you want to use:
Language
The Workspace’s language settings allow you to determine the editing direction in message and in automatic email invitations. They do not affect the interface language. If you want to change the language throughout the app interface, you should refer to user profile language settings.
Editing direction options are:
- Left to Right – Left-to-right editing is always enabled for all countries.
- Right to Left – Right-to-left editing is enabled only in countries that use languages that require this direction. Enabling the right-to-left direction, impacts the editing direction when typing a message and allows you to add a section to the invitation email with text in the language you choose.
To enable the right-to-left editing:
- Hover over “Right to left editing support is currently disabled” and click the Change link when it appears.
- Choose to enable, then click Save.
- Set Default text direction
- Hover over the currently selected text direction and click the Edit link when appears.
- Choose the direction and click Save.
- Set the Language in invitation emails
- Hover over the currently selected language (English Only by default) and click the Edit link when appears.
- Choose the language you want to add.
- If you want the automatically generated text in this language to appear at the top of the outgoing invitation emails, select the ‘Display this language first and English second’ option below the language selection box.
- Click Save.
To disable the right-to-left editing option:
- Hover over “Right to left editing support is currently enabled” and click the Change link when it appears.
- Choose to disable, then click Save.
- Disabling will also remove the other options of the right-to-left setting.
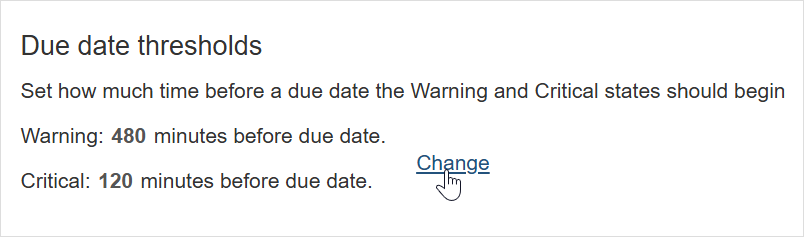
Due date thresholds
Set how much time before a due date the Warning and Critical states should begin.
Click Change to update thresholds to fit your requirements.
The following window shows:
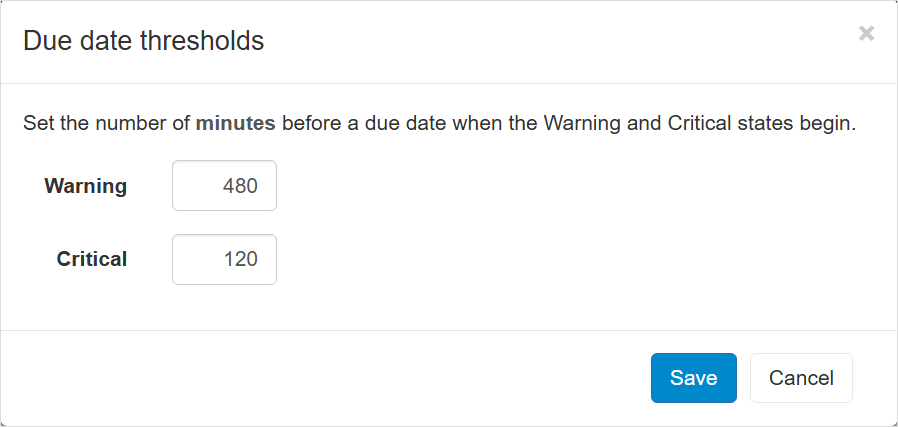
Edit as needed and click Save to save the changes.
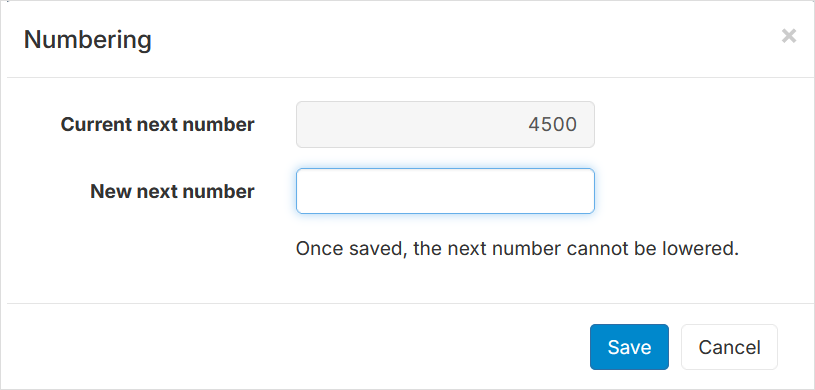
Numbering
The numbering setting allows you to define the starting number for new tickets or conversations created in your workspace.
Note: the next number cannot be lowered.
Click Set next number to specify the next number in the sequence.
Attachments
While working with your workspace, you may use content and files in your workspace, for example, when you attach a file to a ticket. These attachments and files are saved in your workspace. Using the Attachments option, you can decide who has access to these files:- Anyone with a link has access to the files.
- Only users or customers who are logged in to Replypad can access such files.
Signature
The signature is added automatically to the public replies you post in a ticket. The signature is built in layers and is constructed from workspace signature, mailbox signature and your Replypad user signature. To edit the signature, see more details in Signature.Additional settings
Pressing the Additional settings will open more settings:- Default avatar theme – Options are: robots (default) or geometric patterns.
- Help me increase people’s engagement with the workspace – This option helps the workspace admin or owner to bring more people on-board. It basically affects the way the app behaves when it comes to inviting new people to the workspace. For example, whether the Invite checkbox will be selected when creating a new contact, so the app will automatically send an invite email to this new contact.