Accounts in Replypad represent the organizations or companies you service. Each account may have contacts linked to it, which are the people you interact with in this organization.
Account settings
- To view your accounts, you should have Accounts & Contacts access rights.
- Click the Three-lined (‘Hamburger’) icon on the top-right corner and choose Accounts.
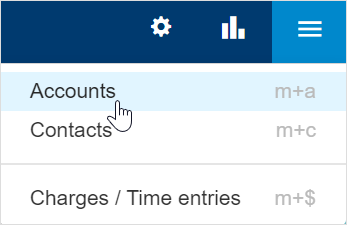
- This will display the complete accounts list.
- Click the account you want to edit.
- Edit the settings as explained below.
Name
The account’s name is displayed whenever choosing the account in a ticket.
To edit the account’s Name, hover over the name, and click the Edit link that appears.
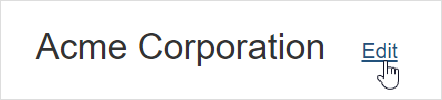
Click Save to save your changes.
Phones and address
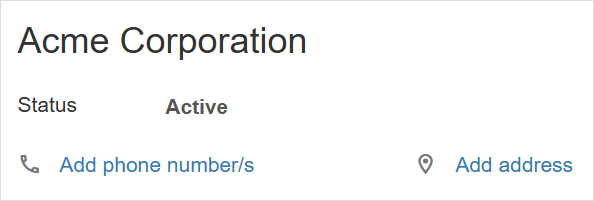
To keep customer information accurate and accessible, you can add phone numbers and addresses to their profiles.
Click Add phone number/s or Add address to open a window where you can input the customer’s phone numbers and address.
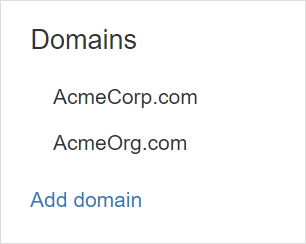
Domains
The account (customer) domains, represent all the domains that email may arrive from and that belong to this account. Replypad allows up to five different domains per account.
Emails arriving from any of these domains will automatically be assigned to this account in the ticket that is created for them.
Banner
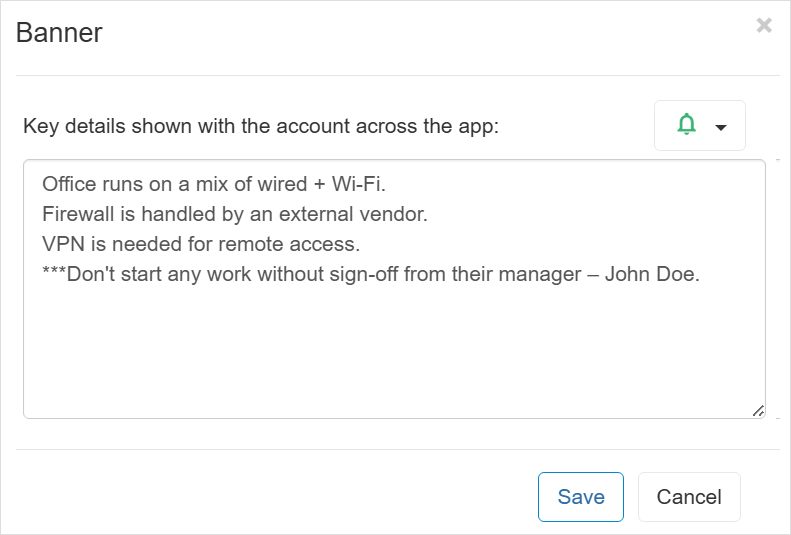
Use the banner feature to manage important information about an account, which will be accessible to everyone across the app.
Accounts with a banner set will display a bell-icon (e.g., under the ticket sidebar), making it easy to spot when an account has an important note. Hovering over the account name will show a popover window with the banner details.
For example, use the account banner to remind your team that they must get an approval from a specific person at that customer’s organization before providing support, or include important notes about the customer’s network setup.
To add a banner:
Click Add banner to write a note and choose the appropriate bell icon color.
Click Save.
Contacts
Here you can view and specify contacts that are linked to this account.
To add or link new contacts:
- Click Add new contact to open a new contact window where you can set the contact’s name, and email address. The new contact will be automatically linked to this account.
- Click Link existing contact to open a selection list where you can search for the contact and link it to the current account.

Note: Each contact can be linked to a single account. A warning message will display if the selected contact is already linked to an account. If you continue, it will switch the contact’s linked account.
Documents
Manage documents and files related to the account.
Upload and organize various types of files, including Word documents, scanned files, voice recordings, photos, images, PDFs, videos, and more.
For example:
- Scanned signed support contracts or maintenance agreements.
- Compliance documentation (e.g., HIPAA, GDPR).
- Network infrastructure diagrams.
- Photos of the server rack.
- VPN and remote access setup instructions.
Note: Each file must not exceed 25MB.
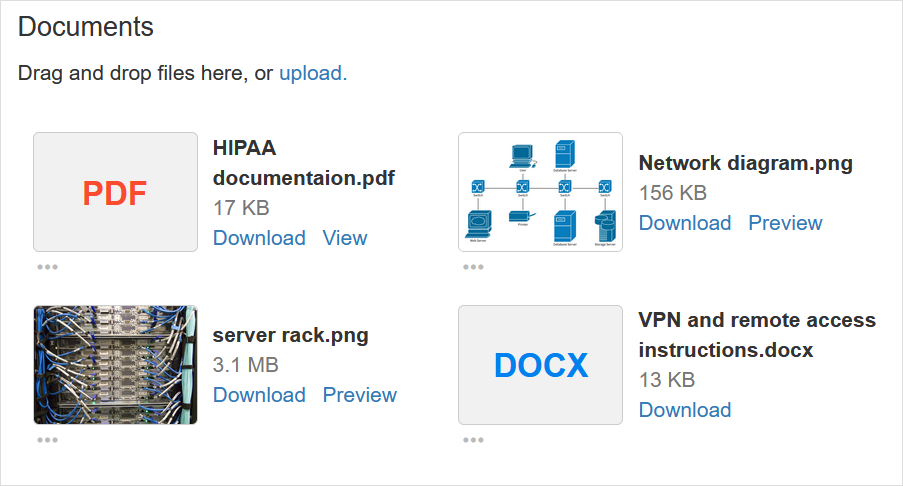
To upload new files, click Upload to open the file selection dialog, or drag and drop files directly from your computer into the Documents section.

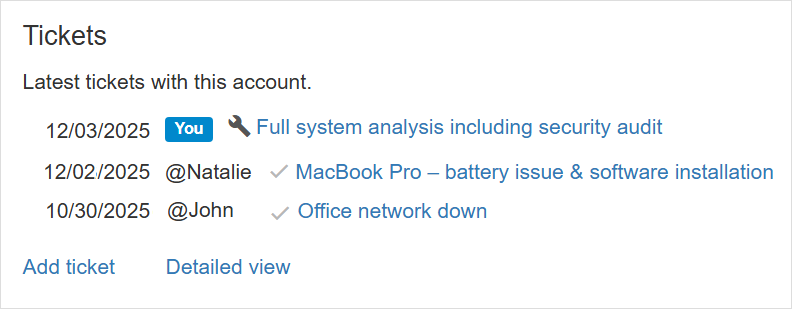
Tickets
Here you can view the latest tickets for the account. Click on a ticket to navigate to its details page, or hover over it to see key details in a popover window.
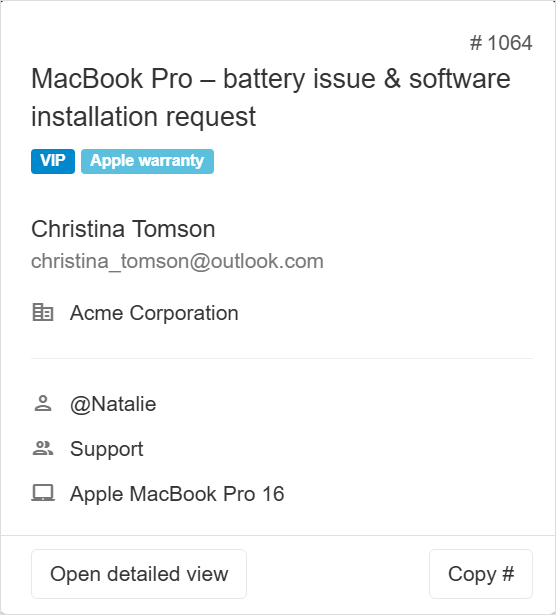
The ticket popover window:
Assets
Click See associated assets to view the list of assets for this account.
Custom fields
Custom Fields are additional fields you can add to accounts to add more industry-specific information or information relevant to your workflow.
The Custom Fields section in the account details is where Replypad displays the custom fields that administrators added to accounts.
To edit value of custom fields:
- Click Edit.
- Add values to the fields you want to keep for this account.
- Click Save.
Learn more about Editing Custom Fields values.
Financial
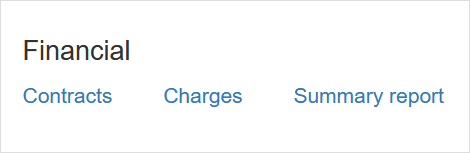
Click Contracts to navigate to the list of billing contracts for this account.
Click Charges to navigate to the list of all charges logged for this account.
Click Summary report to navigate to the summary report page covering this account’s charges.
Advanced
The Advanced section allows you to manage additional settings for this account.
Status
The account’s Status can be either Active or Inactive. Only active accounts can be selected when selecting an account for a ticket.To change the status of an account:
- Hover over the status click Change.
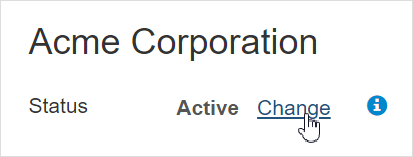
- Choose the status you want between the toggled options.
- Click Save to save your changes.
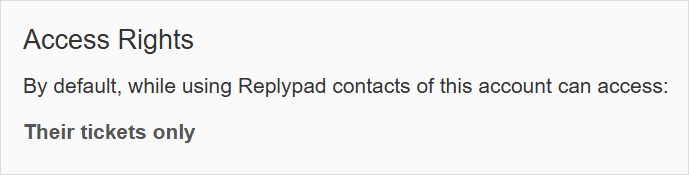
Access rights
Account access rights determine which tickets each contact that belongs to this account will see when they visit the workspace.
To update the account’s access rights:
- Click the Three-lined (‘Hamburger’) icon on the top-right corner and choose Accounts.
- Click the account you want to change
- Hover over the Access Rights field and click Change when it appears.
- Choose between the options:
- Theirs only – Only tickets where the contact appears as the “To” contact, are accessible.
- All – All tickets of this account are accessible to the contact.
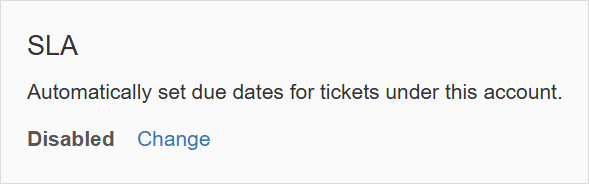
SLA
Accounts can optionally be configured with SLA terms, which, when set, are automatically applied and used to calculate the due date for any new tickets created under the account.
To enable or disable an account’s SLA:
- Click Change.
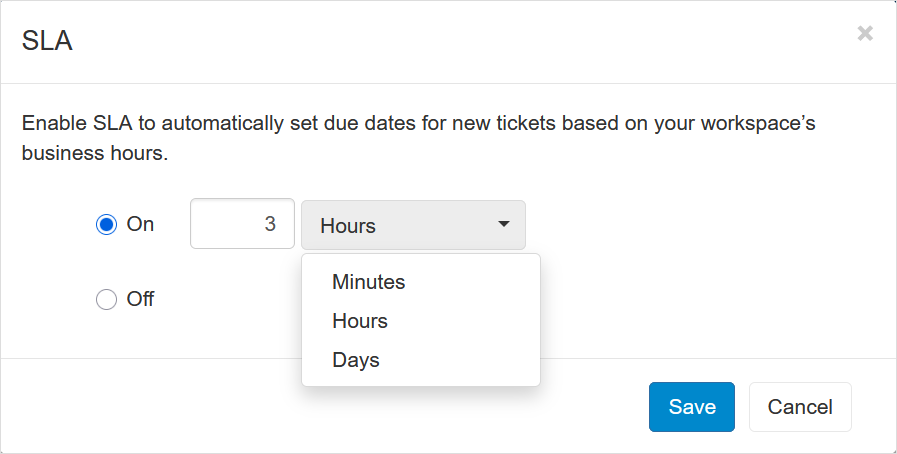
- Select one of the following options:
On – Enable SLA and set the terms.
Off – Disable the SLA.
- Click Save.
Default assignee
The ticket’s assignee is the user that is in charge of the ticket. By default, new tickets arriving from customers are Unassigned until someone assigns it to a user.
Choosing a Default Assignee means Replypad will automatically assign new ticket from customers to this user. Tickets created by contacts means the customer either logged into the workspace and started a ticket, or they sent a new email message.
To set the default assignee:
- Click Select to open the user selection window.

- Start typing the user’s name and select the user from the popup that appears.
- Click Save.
- The Default Assignee must be a member or a colleague of the ticket’s Team in order for Replypad to assign the ticket to them. If the user is External to the team, the ticket will remain unassigned. Learn more about Team membership levels.
- Automated rules (triggers) that automatically assign the ticket to a user, override the default assignee and may assign the ticket to someone else. Learn more about Triggers
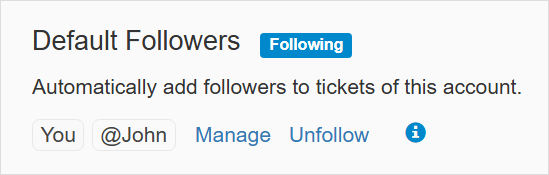
Default followers
Ticket followers receive updates about the ticket into My Inbox, without being the assigned user.
Default followers are users that will be automatically added as followers to new tickets of this account.
Adding default followers in the account level has various benefits, such as:
- You don’t need to be the person handling this account, you can still follow all of their tickets automatically.
- You can add team members as followers so they will get acquainted with a customer they are about to work with.
To add a user as a default follower:
- Click Select (if there are no followers yet) or Manage to open the user selection window.
- Start typing the user’s name and select the user from the popup that appears.
- Click Save.
To remove a default follower:
- Click Manage to open the user selection window.
- Find the user in the list and click the X button to remove them from the list.
- Click Save.
To add or remove yourself as a default follower:
- Click Follow to add yourself or Unfollow to remove yourself as a follower.
Default labels
Labels in Replypad let you add context and organize tickets better. Each label has a name and a color and are displayed with the ticket.
Choosing a default label will automatically assign the ticket with this label when this account is selected for the ticket. This way you can mark tickets that have special meaning to you according to the account (customer).
To update the default label:
- Click Select (if there are no labels yet) or Manage to open the label selection window.

- Select the label you want to set as default for this account.
- You can click Create new label if you need to use a label that does not exist yet, and create the new label.
- Click Save.