- If you are setting up a mailbox for the first time, make sure to read Understanding mailboxes first.
- If you need to set up multiple mailboxes, refer to Managing Mailboxes.
- Users that want to use mailboxes, should refer to Understanding mailboxes.
Edit mailbox settings
To edit your mailbox settings you need to be an administrator.
To edit the mailbox settings:
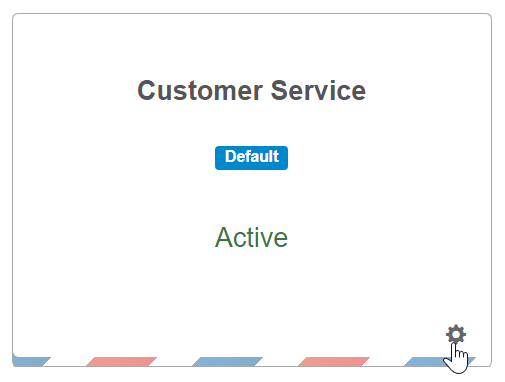
- Click the Gear icon in the upper-right corner, and select Mailboxes from the dropdown menu.
- Click the Gear icon in the mailbox you want to update, and select Edit.
Mailbox name
The mailbox name is how you will see the mailbox in Replypad, and is also used as the “From” for email notifications sent to your team and end customers. Examples: ACME Support, ACME Sales, ACME Accounting.
To change the mailbox name:
- Edit the name.
- Click Close.
Assigned email address
The assigned email address is determined when setting up the mailbox for the first time. Once created, the assigned email address cannot be changed.
Logo
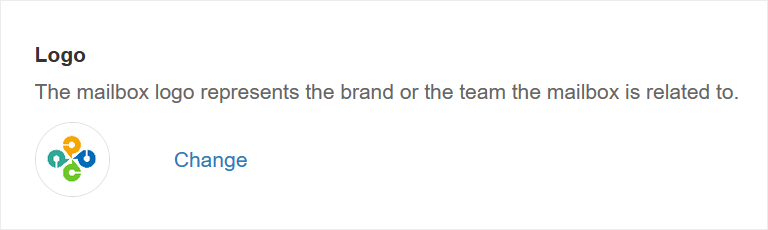
Add a logo to be displayed in as the avatar of tickets when showing the ticket to customers, rather than using the user’s avatar. If not defined, the workspace logo will be used by default.
To add a logo:
- In order to setup your logo you need to be a workspace administrator.
- To open the Replypad mailboxes settings, click on the Gear icon in the upper-right corner, and select Mailboxes from the dropdown menu.
- Under the Logo section, click Change.
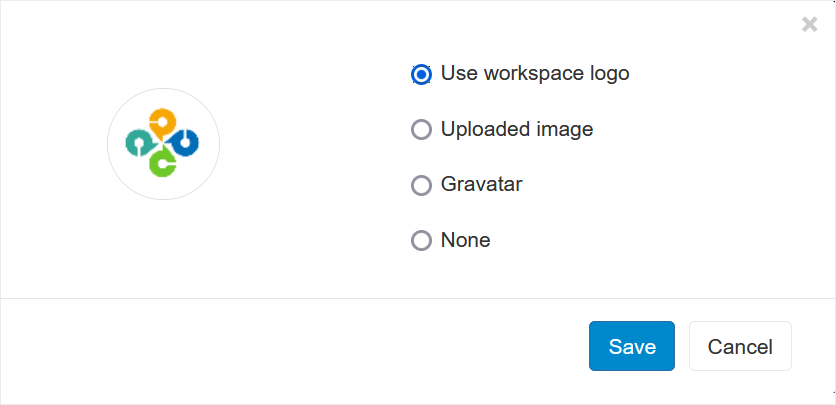
- Options are:
- Use workspace logo (default) – the logo for ticket’s avatar will be taken from the workspace settings.
- Uploaded image – choose this option to upload an image file to be used as the logo for tickets managed in this mailbox. Click Upload logo file to upload the image itself.
- Gravatar – choose Gravatar to have an automatic generated icon used for this mailbox.
- None – no logo will be displayed in tickets in this mailbox.
In cases where you want to reply with different branding per department. For example, if you have different mailboxes for accounting and support, you may use a variation of the logo per department.
Another example may be when you want to use different brands you provide service for, under the same workspace. In this case, you may use different mailboxes, and provide a different logo per mailbox.
Mailbox default team
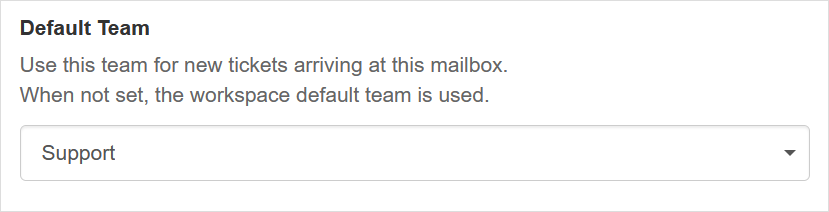
The default team for a mailbox is a way to automatically set the team to tickets created under this mailbox. See more details in Teams.
To define the default team:
- In order to setup default team you need to be a workspace administrator.
- To open the Replypad mailboxes settings, click on the Gear icon in the upper-right corner, and select Mailboxes from the dropdown menu.
- Click the Gear icon in the mailbox you want to update, and select Edit.
- Scroll down to the Default team area and choose the team from the drop-down list.
- Defining a default team will only set the team to new tickets.
- You can use teams to restrict access rights to tickets.
- Triggers may override the mailbox default team if they apply to the ticket. Learn more about Teams and Mailboxes.
Personalized replies
When sending replies to customers, the mailbox name will be used for the ‘Reply From’ part of email replies. Using the Personalized Replies option, you can send personalized email replies and include the name of the user sending the reply, in addition to the mailbox name.
Personalized replies options:
Include user names – Will include the user name in the reply.
Show user profile avatars – When including the user name, you can also choose to show the avatar. This will add the avatar of the user sending the reply in the “From” part of the email. If not selected, the mailbox logo will be used instead.
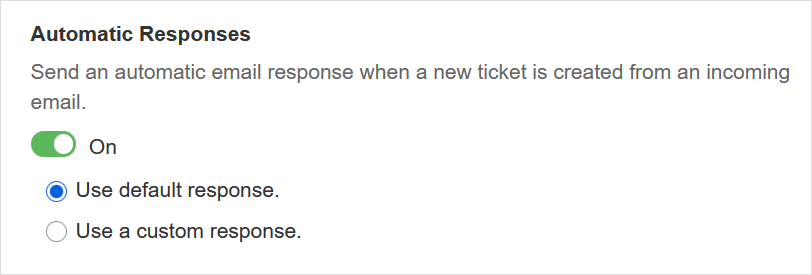
Automatic responses
Here you can choose to send an automatic email response to the customer when a new ticket is created from an incoming email.
Automatic responses options:
Yes/No – Toggle to Yes if you want to send automatic replies.
Use default response – Leaving this option selected will send the standard default response.
Use a custom response – Choosing this option will let you edit the default response and adjust it to your own requirements. While editing you can use the following dynamic fields that will be replaced with data in real-time while sending the reply:
- [Workspace.Name]
- [Ticket.Number]
- [Mailbox.Name]
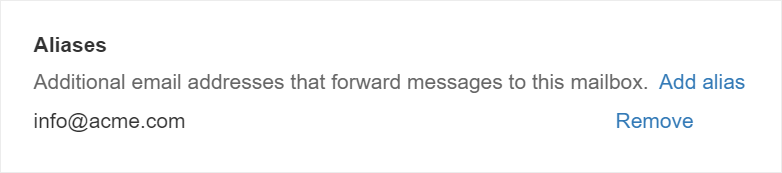
Mailbox aliases
Use mailbox aliases in case you forward multiple email addresses to the same Replypad mailbox. Aliases tell Replypad that those email addresses represent your incoming email address, just like the main email address.
Aliases will make sure that emails that are not the primary email address of this mailbox, will be considered as the mailbox address. Without adding these addresses as aliases, such email addresses will be considered as new Contacts in Replypad, rather than detected as the address of the mailbox.
To set up aliases:
- In order to setup mailbox alias you need to be a workspace administrator.
- To open the Replypad mailboxes settings, click on the Gear icon in the upper-right corner, and select Mailboxes from the dropdown menu.
- Click the Gear icon in the mailbox you want to update, and select Edit.
- Scroll down to the Aliases area and click Add alias.
- Type the email address you want add as an alias:
- An alias cannot already be set to another mailbox in the same workspace as an alias.
- An alias cannot be configured as a Bcc address for any mailbox in the same workspace.
- An Alias cannot be an email address already assigned to another mailbox in the same workspace.
Mailbox Bcc
Many times you may want to have a copy of all your outgoing emails sent to an external email address, for compliance and archival reasons.
An administrator user can define an email address to where any outbound public reply is copied to (Bcc). Meaning, the email message that goes to the To-Contact or Cc of the ticket, will also get Bcc’d here.
To set up the mailbox Bcc:
- In order to setup the mailbox’s Bcc you need to be a workspace administrator.
- To open the Replypad mailboxes settings, click on the Gear icon in the upper-right corner, and select Mailboxes from the dropdown menu.
- Click the Gear icon in the mailbox you want to update, and select Edit.
- Scroll down to the Bcc Address and click Configure.
- Type the email address you want outbound emails to be copied to. In order to reduce the chances of Bcc-ing the workspace itself, a Bcc address:
- Cannot be an email address used for a mailbox.
- Cannot be an email-alias (see above) to any mailbox in the same workspace.
- Cannot be on a domain of Replypad inbound domains, e.g. inbox.replypad.net.
Domain verification (optional) – advanced
You may want to authorize Replypad to send emails from your domain. Domain verification is done once for the workspace (for all mailboxes).
Learn more about setting domain verification in Replypad.