Introduction
As an administrator of your Replypad workspace, the Teams feature lets you efficiently manage user groups and organize tickets. This step-by-step guide will walk you through defining teams in your workspace. You will learn how to create teams, manage memberships, set access rights, utilize triggers for automatic assignment, and more.
Before you begin
We recommend reading the high-level teams article to better understand how to use teams effectively in Replypad.
Adding a team to your workspace includes the following steps:
- Step 1: Adding a team.
- Step 2: Managing team memberships.
- Step 3: Managing access rights to tickets.
- Step 4: Automating tickets’ team.
Step 1: Adding a team
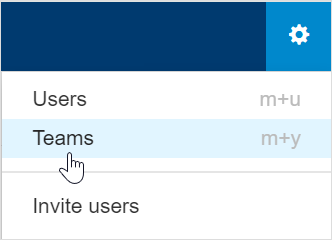
- Click the Gear icon in the top-right corner and choose Teams, or press m then y on your keyboard.
- Click the New Team button or press n as a keyboard shortcut.
- Enter the team name and click Save.
- The Team Memberships window will open.
- Select the membership level for each user and click Save.
- The newly created team will now appear in the list.
Step 2: Managing team memberships
Team memberships determine the relationship between a team and the users in the team.
You manage memberships when:
- Creating a new team.
- Changing team memberships.
- Adding a new user to the workspace (best achieved from the user’s settings).
- Making organizational changes and changing user roles in teams.
Replypad offers three membership levels: Member, Colleague, and External.
By default, users are set as Colleagues, meaning they are not an active part of the team, but they have access to all of the team’s tickets. To add Members or set users as External, you need to explicitly configure memberships from the team’s settings or the user’s settings.
Managing memberships from the team’s settings:
- Click the Gear icon in the top-right corner and choose Teams.
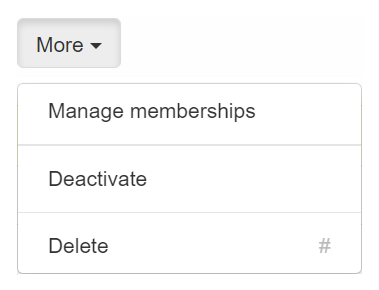
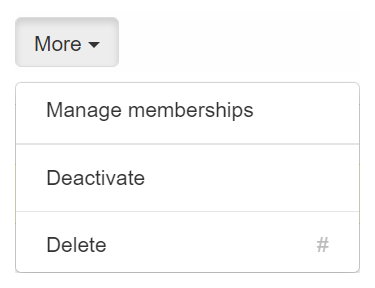
- Select the team from the list, then click More > Manage memberships from the top toolbar.
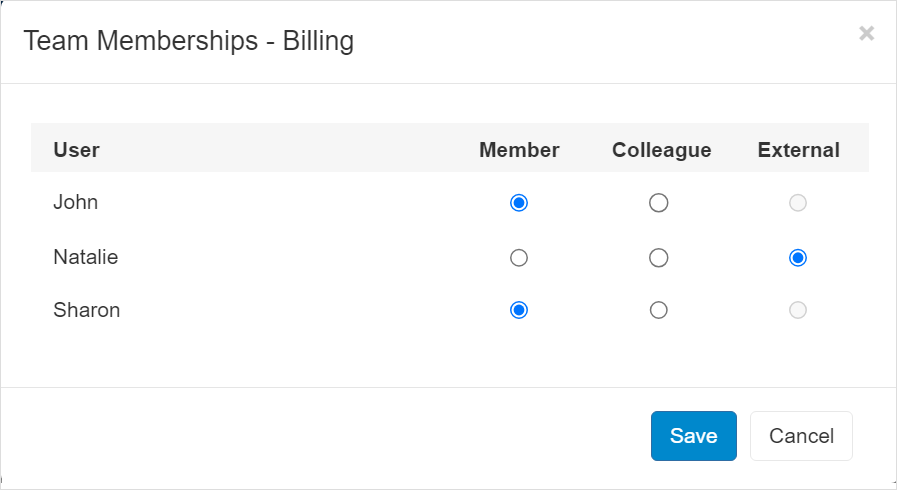
- The Team Memberships window will open.
- Select the user’s membership level for each team:
- Select Member for users that are actively part of the team.
- Select Colleague for users that should be able to see and collaborate about the team’s tickets but are not part of the team.
- Select External only for users not involved in the team’s activities. They will not see the team’s tickets unless someone explicitly adds them to a ticket.
Managing team memberships from the user’s settings:
- Open Settings (Gear icon) > Users.
- Click on a user to open the user’s details page.
- Select the user you want to restrict, and scroll down to the Access Rights section.
- Hover over the Tickets and click the Change link that appears.
- The Teams Membership window will open.
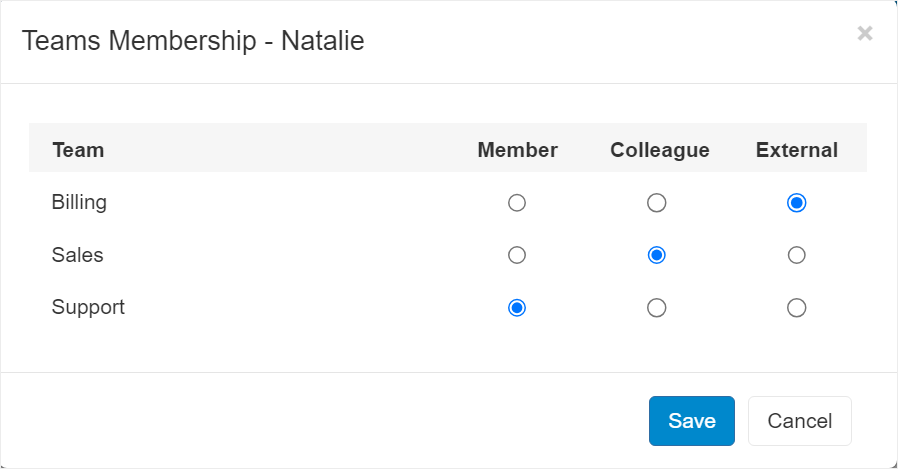
- Select the user’s membership level for each team:
- Select Member when the user is an active part of the team.
- Select Colleague when the user should be able to see and collaborate about the team’s tickets but is not part of the team.
- Select External only when the user is uninvolved in the team’s activities. They will not see the team’s tickets unless someone explicitly adds them to a ticket.
Step 3: Setting access rights to tickets
Team memberships affect user’s access rights to the team’s tickets:
- Users can access all the team’s tickets when they are Members or Colleagues of a team.
- When External, they are restricted from accessing the team’s tickets unless explicitly added to one (i.e., someone assigns it to them, sets them as followers or as the ticket’s contact, or when the ticket is specifically related to their account.)
Follow the documentation on ticket access rights for step-by-step instructions.
Step 4: Automating how Replypad sets the tickets’ team
Learn more about how Replypad determines the team for new incoming tickets.
- Set up the Workspace Default Team.
The Workspace Default Team sets the ticket’s team when all other automated settings do not apply because tickets must always be associated with a team.
To set the Workspace Default Team, follow these steps:
- Click the Gear icon in the top-right corner and choose Teams.
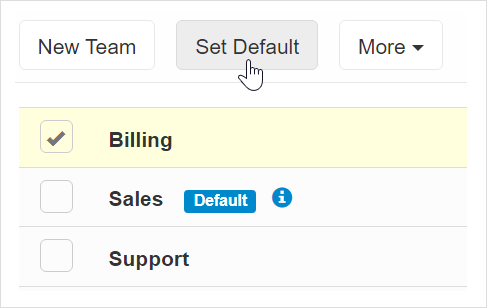
- Select the team you want to set as default using the selection box on the left side of the team name.
- Click the Set Default button in the top toolbar.
- The chosen team will now have the “default” label next to it.
Note: Only an active team can serve as the workspace default team.
- Set up the Mailbox Default Team.
The relationship between mailboxes and teams in Replypad is flexible.
We recommend first reading Understanding Teams and Mailboxes.
The Mailbox Default Team means that Replypad will automatically associate messages from this mailbox to this team.
Note: Automated trigger rules that apply to this ticket may override this setting.
Follow the instructions to set up the Mailbox Default Team.
- Set up Automated Rules (Triggers) for special use-cases.
Triggers in Replypad allow you to define rules that automatically determine the team for a new ticket. When a rule’s condition applies to a ticket, it sets the team, overriding any default team settings.
Follow the documentation on triggers for setting teams automatically.
Other actions
Email members about unassigned tickets
You can set Replypad to send an email notification to team members when the team has new open tickets that were not assigned yet.
Team members will receive such notifications only when:
- They have email notifications activated for them.
- When the ticket is open. If the system automatically closes a ticket upon creation due to automation (triggers), it will not send an email notification to team members.
By default, Replypad is set to send email notifications to team members. You can change this setting from the team’s details window:
- Click the Gear icon in the top-right corner and choose Teams.
- Click the team you want to update in order to open its details window.
- Check or uncheck the ‘Email members about unassigned tickets’ checkbox beneath the Members section.

Deleting a team
- Click the Gear icon in the top-right corner and choose Teams.
- Select the Team you want to delete using the selection box on the left side of the team name.
- Click More > Delete, or press the ‘#’ keyboard shortcut.
- If the team has tickets associated with it, it will be deactivated instead of deleted to preserve past activity and access rights settings.
Activating a team
You can reactivate a team that you deactivated in the past at any time.
- Click the Gear icon in the top-right corner and choose Teams.
- Select the inactive team you want to reactivate using the selection box on the left side of the team name.
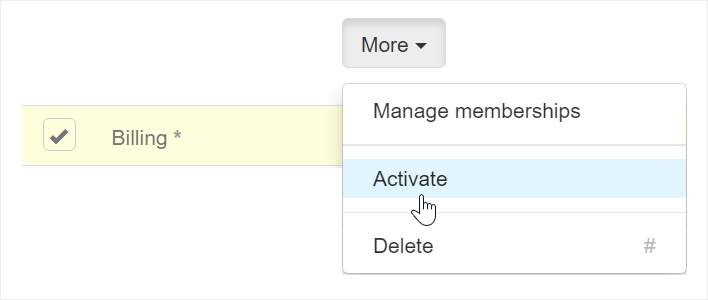
- Click More > Activate.
- The team will now appear as active.
Deactivating a team
- Click the Gear icon in the top-right corner and choose Teams.
- Select the team you want to deactivate using the selection box on the left side of the team name.
- Click More > Deactivate.
- The team will appear grayed out with an asterisk sign beside it.