Contacts, are also sometimes referred to as customers. These are people you communicate with in tickets, and they may also log into Replypad and access their tickets in your workspace. Contacts may optionally be linked to an organization or a company, known as Accounts in Replypad.
Following are the contact details and settings options.
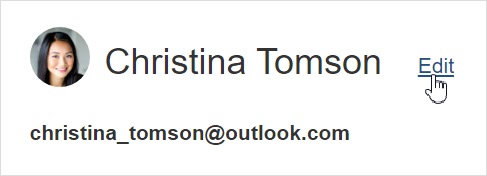
Name
The contact’s name is displayed whenever choosing the contact as the To or Cc in a ticket.
To edit the contact’s Name, hover over the name, and click the Edit link that appears. Contact name should usually include first and last name.
Email address
A contact may have more than a single address.
To edit the email address, hover over the email address, and click the Actions menu that pops up.
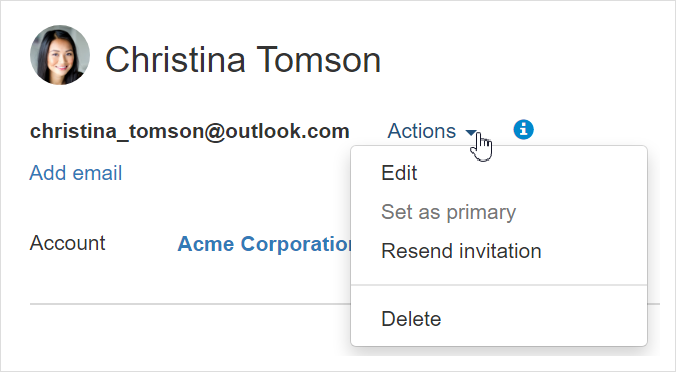
If you want to remove an email address, you first must add a new email address, and only then remove the old one.
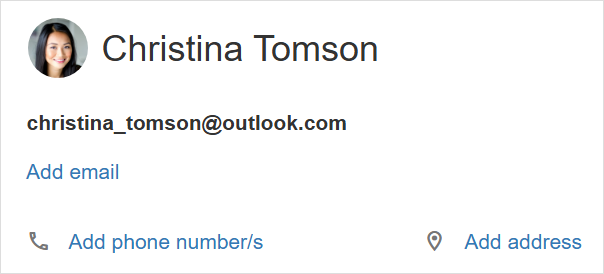
Phones and address
To keep contact information accurate and accessible, you can add phone numbers and addresses to their profiles.
Click Add phone number/s or Add address to open a window where you can input the contact’s phone numbers and address.
Account
Account is the organization this contact belongs to, usually your customer’s company.
To link the contact to an Account, click Select Account.

Documents
Manage documents and files related to the contact.
Upload and organize various types of files, including Word documents, scanned files, voice recordings, photos, images, PDFs, videos, and more.
For example:
- Quote for a new laptop.
- Photo of broken laptop display.
- Request to change password.
Note: Each file must not exceed 25MB.

To upload new files, click Upload to open the file selection dialog, or drag and drop files directly from your computer into the Documents section.

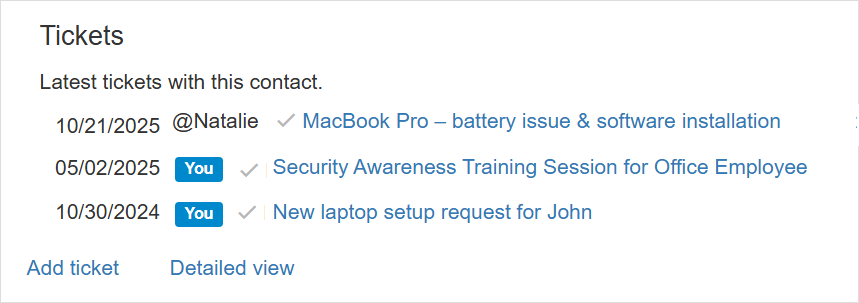
Tickets
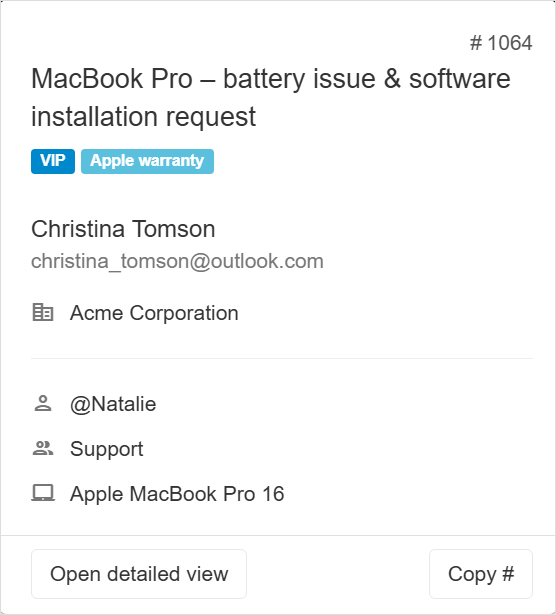
Here you can view the latest tickets for the contact. Click on a ticket to navigate to its details page, or hover over it to see key details in a popover window.
The ticket popover window:
Custom fields
Custom Fields are additional fields you can add to contacts to add more industry-specific information or information relevant to your workflow.
The Custom Fields section in the contact details is where Replypad displays the custom fields that administrators added to contacts.
Learn how to edit Custom Fields values.
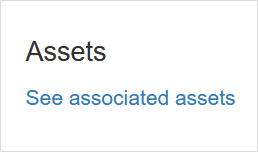
Assets
Click See associated assets to view the list of assets for this contact.
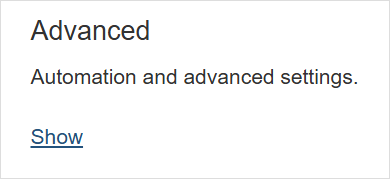
Advanced
The Advanced section allows you to manage additional settings for this contact.
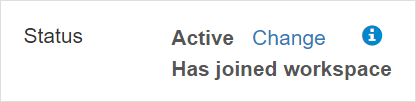
Status
Possible statuses for contacts are Active and Inactive.
Inactive contacts cannot log in to the Replypad workspace and will not receive email notifications for tickets they are involved in.
To change the status of a contact:
- Hover over the status click the Change link that appears.
- Choose the status you want between the toggled options.
- Click Save to save your changes.
Each active contact in your workspace has the option to register and log into Replypad and access their tickets in your workspace. Their Replypad profile and credentials are managed by the contact itself.
Possible statuses are:
- Can join workspace – Contact can now use Replypad to join this workspace as an end-user and participate in tickets related to them. They can join from the ‘Manage workspaces’ page and may need to register to Replypad first.
- Invitation to join workspace sent – Contact can now join this workspace and use Replypad as an end-user to participate in tickets related to them. They can join by following the link included in the invitation email or by using the ‘Manage workspaces’ page in Replypad. They may need to register to Replypad first.
- Has joined workspace – Contact has joined this workspace and can use Replypad as an end-user to participate in tickets related to them.
To send an invitation messages:
- Hover over the invitation status and click the Actions menu that appears.
- Choose the email address you want to send the invitation to.
Once you add the contact with their email address, Replypad allows them to join the workspace. If they do not have a Replypad profile yet, they can sign up and then access the workspace.
Role
Role determines whether this is a user or contact.

Possible roles are:
- User (also referred to as team-member or staff member) – User is a team member who can be assigned with tickets and add replies and comments.
- Contact (also referred to as end user or your customer) – is an end-user that can join your workspace to view their tickets.
Access rights
The access rights per contact determined which tickets this contact will be able to view when visiting the workspace in Replypad.
These settings will override the access rights that are defined in the account level
To update the contact access rights:
- Click the Three-lined (‘Hamburger’) icon on the top-right corner and choose Contacts.
- Click the contact you want to change.
- Hover over the Access Rights and click Change when it appears.
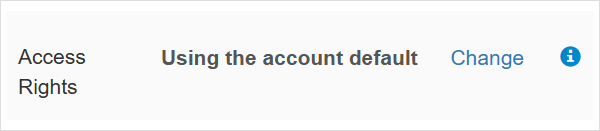
- Choose between the options:
- Use Account Default – Take the settings from the account (this is the default behavior).
- All – All tickets of the account are accessible to this contact.
- Restricted – Only tickets of this account that link to this contact are accessible.
Default labels
Labels in Replypad let you add context to tickets and have them better organized. Each label has a name and a color, which influences the way the label will look like when it is displayed with the ticket.
Choosing a default label will automatically assign the ticket with this label when this contact is selected as the To-contact of the ticket. This way you can mark tickets that have special meaning to you according to the contact.
