Viewing articles
- Click the Three-lined (‘Hamburger’) icon on the top-right corner and choose Knowledge base.
- This will display the published articles list.
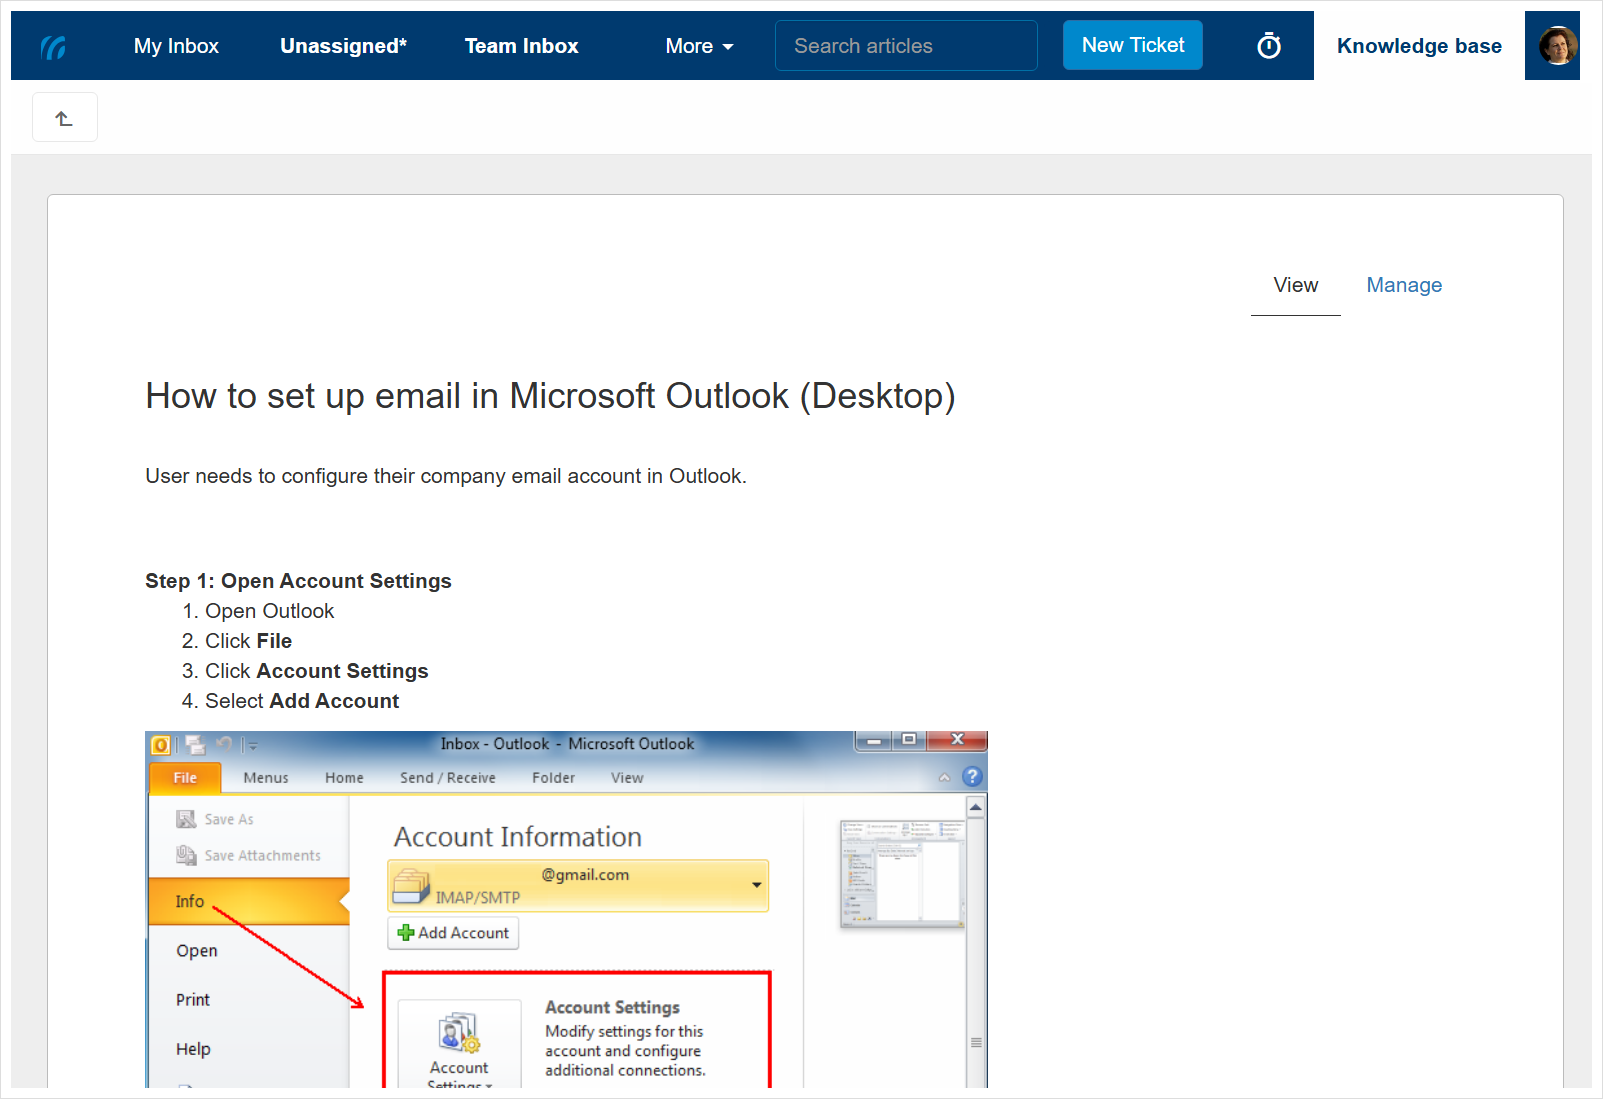
- Click the article you want to view. The article page opens:

Article display modes
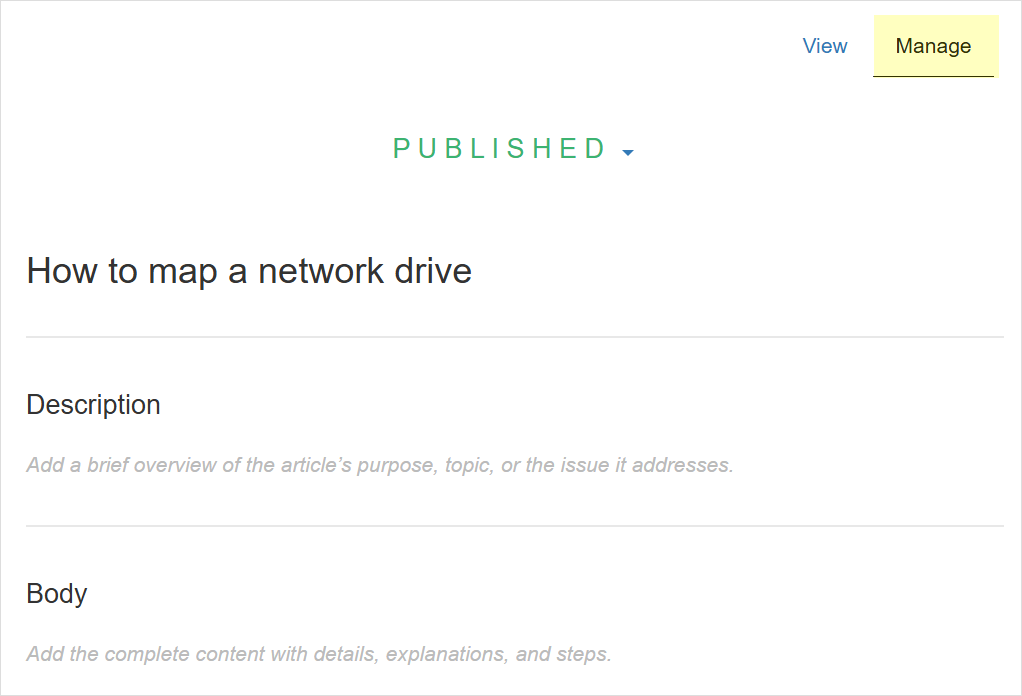
Articles are displayed in two modes: View mode and Manage mode.
View mode is the default when opening an article. The article is presented in a clear, reader-friendly format, as it appears to team members and customers.
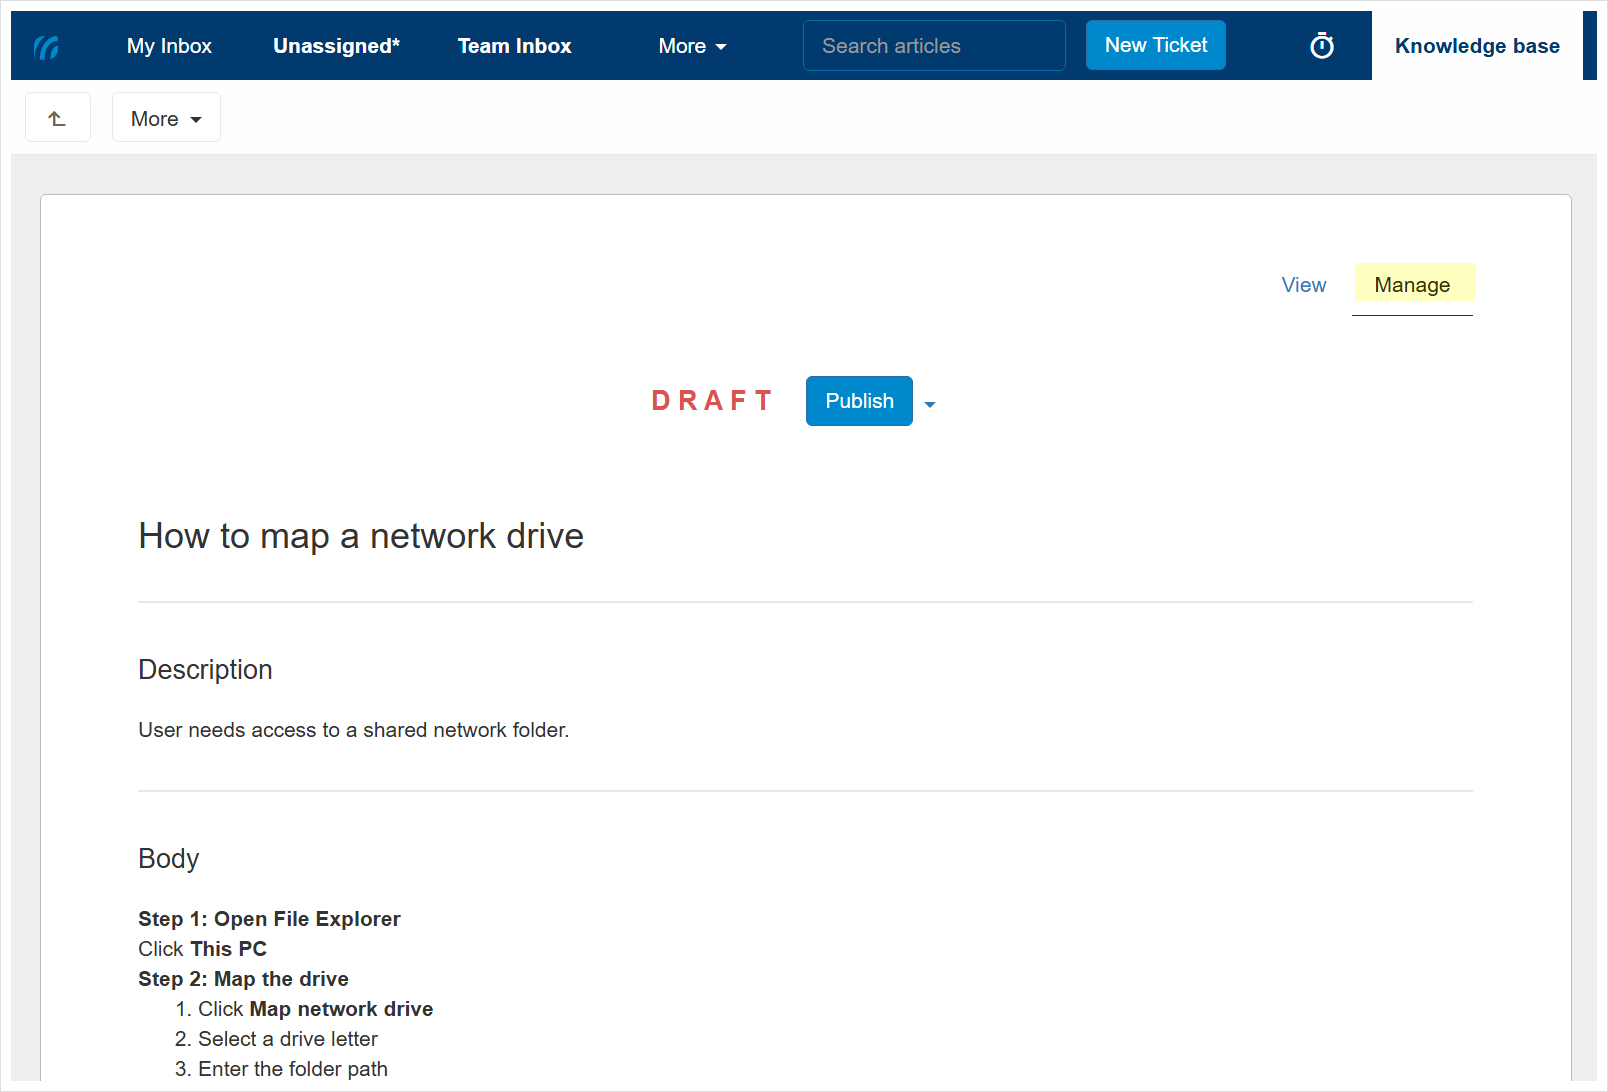
Manage mode (not available to customers) is where you manage the article, such as controlling its visibility and status, and editing its content.
Article status
Draft articles
When a new article is created, it enters the Draft status. This is your “work-in-progress” phase, visible only to your internal team while it’s being written or reviewed. It cannot be seen by customers or shared until you are ready to go live.
Published articles
Published articles are your “live” articles. A published article is finalized and ready for action. A published article can also become visible to your customers via the portal and can be shared with them via links or tickets.
To publish a draft article, open it in Manage mode and click the Publish button at the top of the article details page.
Archived articles
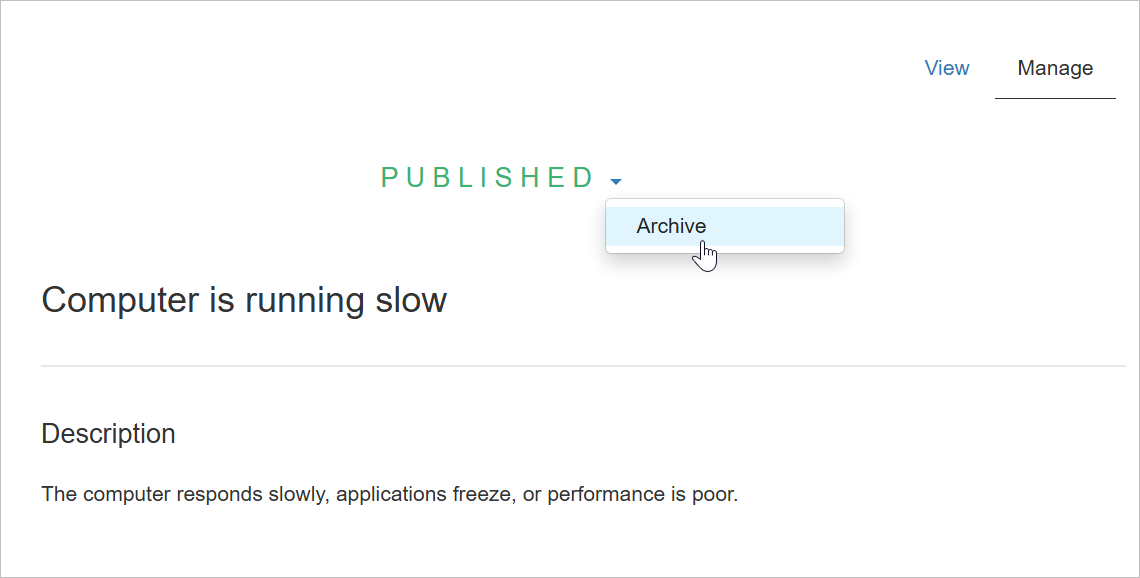
An archived article is no longer published, usually because it is outdated or no longer relevant. Once archived, the article is hidden from customers (even if the Public toggle is on) but remains accessible to your internal team for reference.
To archive a published article, open it in Manage mode, then click the dropdown next to the Published label at the top and select Archive.
Article details
Title
Article title is a short summary of the article topic. A clear title also makes it easier to identify the article in lists.
To edit the article title, open the article in Manage mode, hover over the title, and click the Edit link that appears.
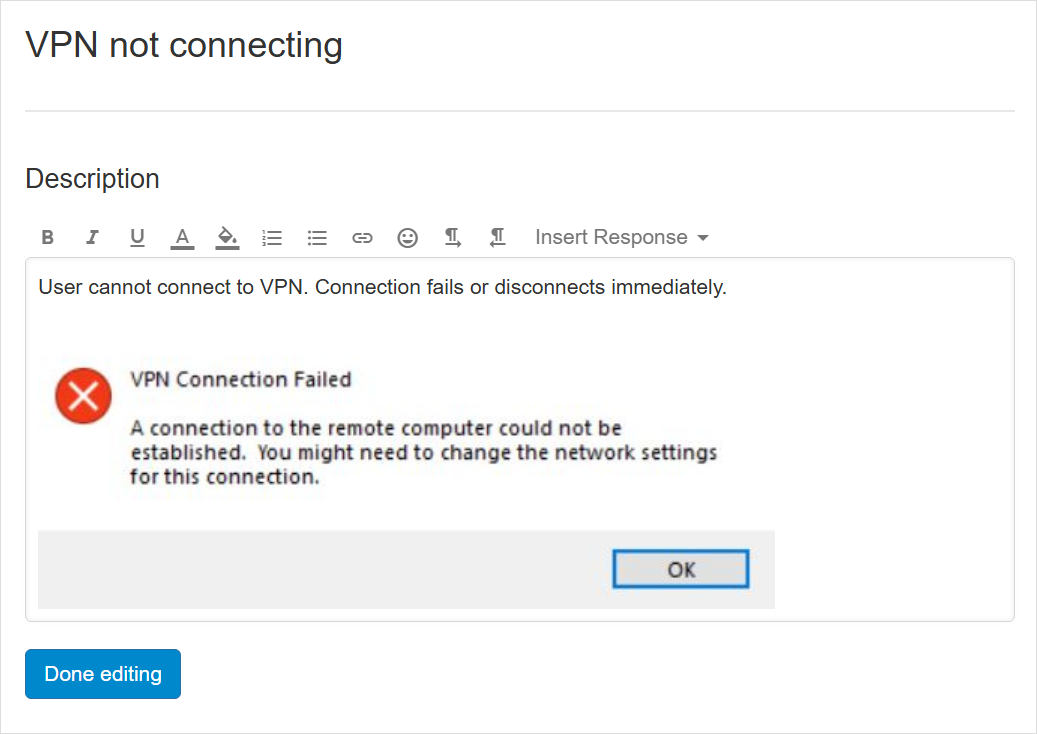
Description
The article description provides detailed information about the problem, symptom, issue, or question the article addresses. It helps readers quickly confirm that the article is the one they need. You can also include images and apply formatting as needed.
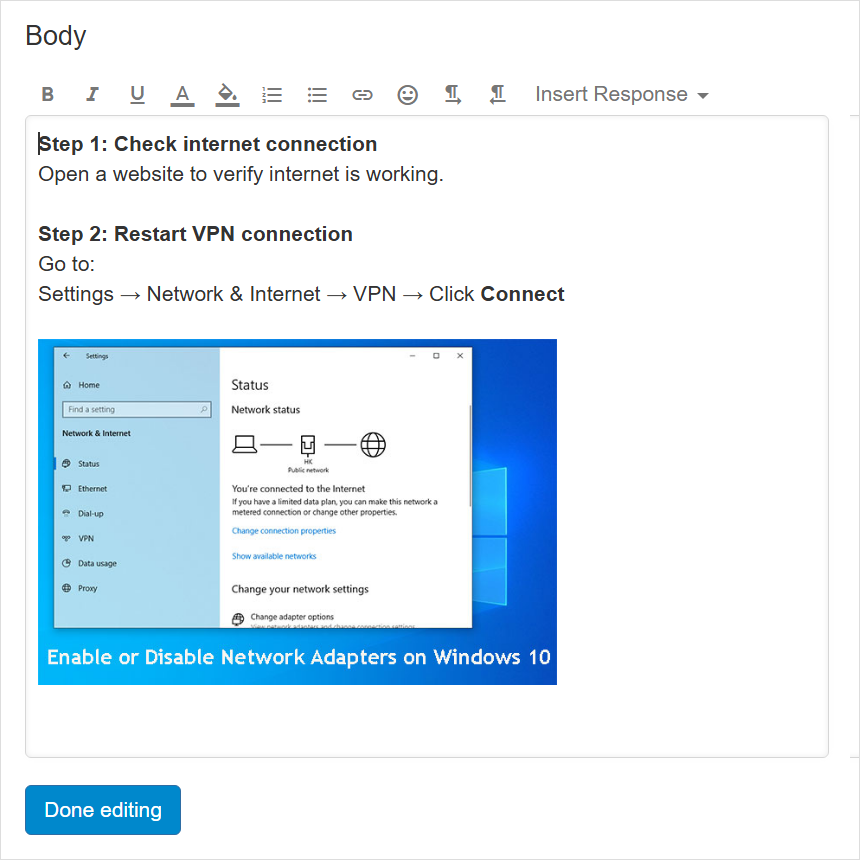
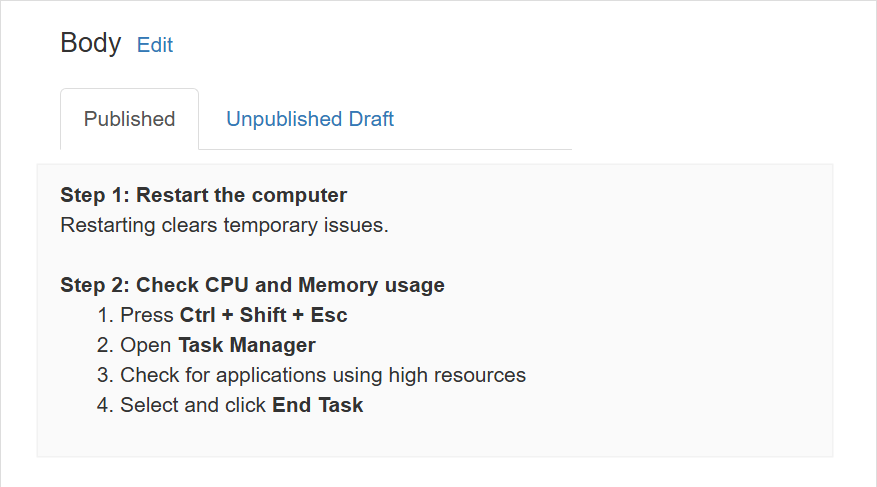
Body
The article body contains the main content and is used for detailed step-by-step instructions, troubleshooting and resolution steps, descriptions, procedures, and explanations. You can also include images and apply formatting as needed.
Editing the description and body of a published article
To edit the article description or body, open the article in Manage mode and click the field you want to edit to enter editing mode.
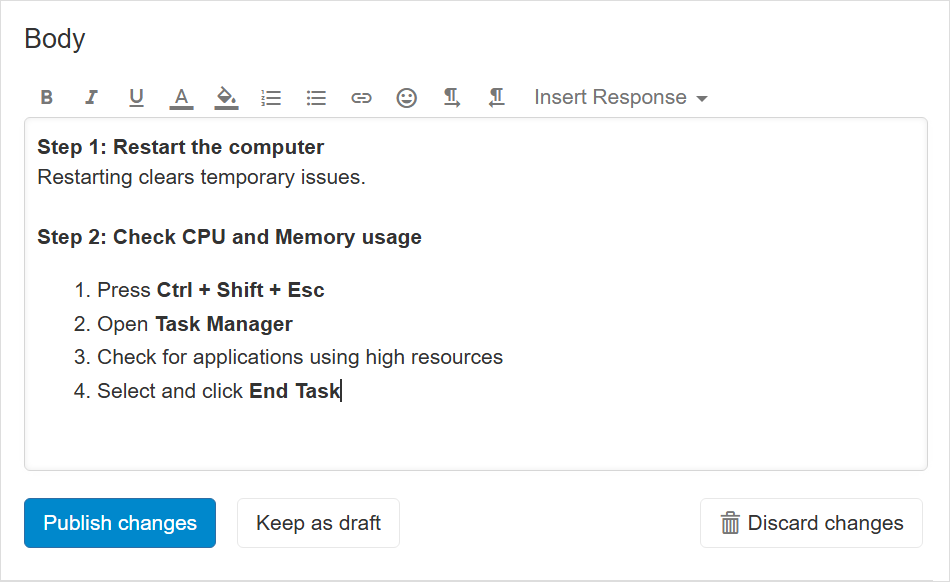
Once you have finished editing, you can:
Publish changes – the changes will be published and visible to everyone viewing the article.
Keep as draft – the changes will be saved but not published, so they will not be visible in View mode. You can resume editing and publish the changes later.
Discard changes – cancel the changes without saving or publishing them.
Unpublished edits
When changes to the article description or body are kept as a draft, you can view the unpublished version in Manage mode under the Unpublished Draft tab of the respected field:
Documents
Articles can include attached files that users can preview or download.
Upload and organize various types of files, including Word documents, scanned files, voice recordings, photos, images, PDFs, videos, and more.
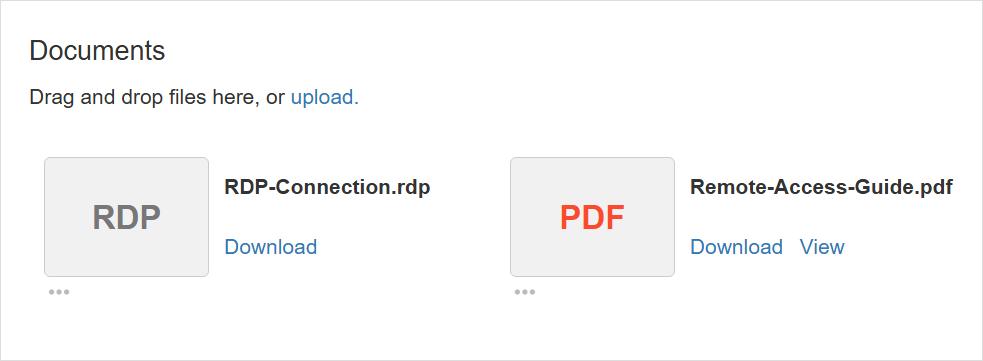
To upload new files, click Upload to open the file selection dialog, or drag and drop files directly from your computer into the Documents section.

Category
Each article belongs to, or “lives” under, a selected category. Categories help group articles on similar topics together.
To change the article category:
- Enter Manage mode.
- Hover over the article category and click Change.

- Choose the category.
- Click Save.
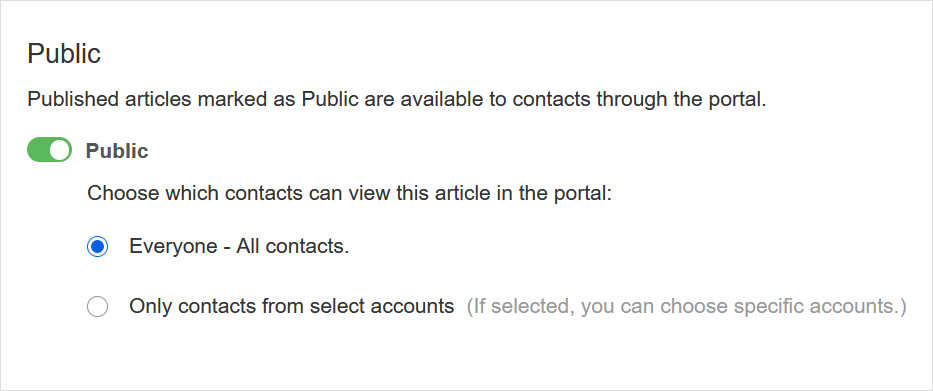
Public
Each article has visibility settings managed under the Public section. These settings apply only to Published articles.
Published articles marked as Public are available to relevant contacts via the portal.
To mark the article as public, set the toggle to On and choose one of the options:
- Everyone – The article will be available to all contacts via the portal.
- Only contacts from select accounts – the article will be available only to contacts from specific accounts you select.
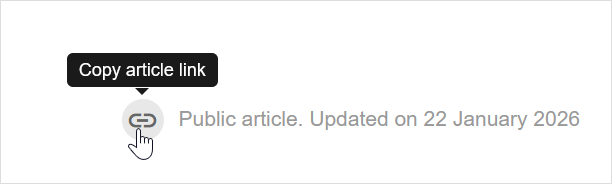
Copy article link
Hover over the link icon at the bottom-right area to copy the article link.
Referencing articles in messages
When responding to tickets, you can link articles directly in your replies.
While composing your message:
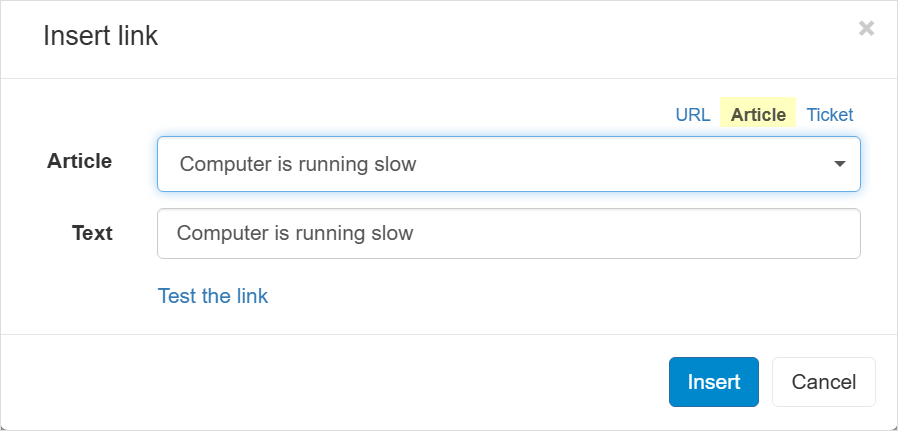
- Click the link icon or press Ctrl + K to open the linking window.
- Click the Article option and select the relevant article from the dropdown list.