What are stars?
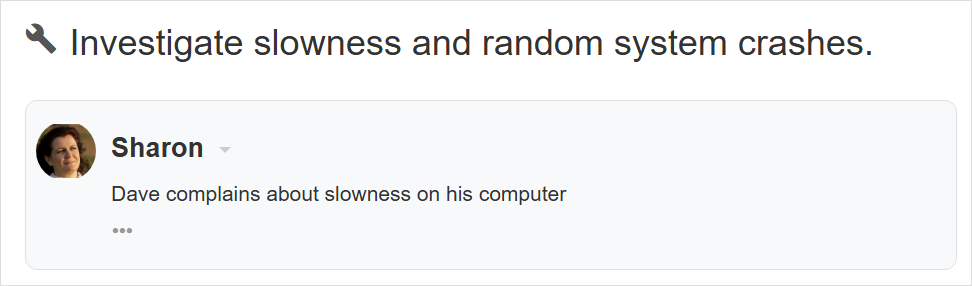
Stars allow you to add visual markers to tickets, making it easier to organize, prioritize, and add context at a glance. Each star includes an icon, a name, and a color, and is displayed next to the ticket subject for quick recognition.
Star can be applied to tickets manually by the user or automatically using triggers.
You can choose from a set of predefined star icons to match your use case and your team’s workflow.
You can also search and filter tickets by star to quickly view all tickets marked with the same one.
Usage examples
Note: The examples below are simply ideas to help spark how you might use Stars in your workflow. Feel free to choose different stars from the library and rename them to better fit your team’s processes. These suggestions are just a starting point for inspiration.
| Mark tickets where the customer is waiting on a callback. | |
| Flag complex or unresolved cases that need escalation to Tier 2. | |
| Identify tickets related to order fulfillment or delivery. | |
| Tag cases involving customer travel plans or logistics. | |
| Mark tickets related to cloud infrastructure or hosting problems. |
Administrators can manage the list of stars available to users in your workspace. See Managing Stars for more information.
Starring tickets
- Open the ticket details or select the ticket from the list.
- Click the Star icon in the toolbar, or press S (The keyboard shortcut for starring).

- Select the star you want to set to the ticket.
- Once set, the star will appear next to the ticket subject.
Removing a star from a ticket
- Open the ticket details or select the ticket from the list.
- Click the Star icon in the toolbar, or press S (keyboard shortcut).
- Select Clear star to remove the current star from the ticket.
- The star will no longer appear next to the ticket.

Starring tickets using triggers
Triggers are a set of user defined rules that help you automate your work that can also be used to automatically star tickets. See Starring tickets using triggers for more information.
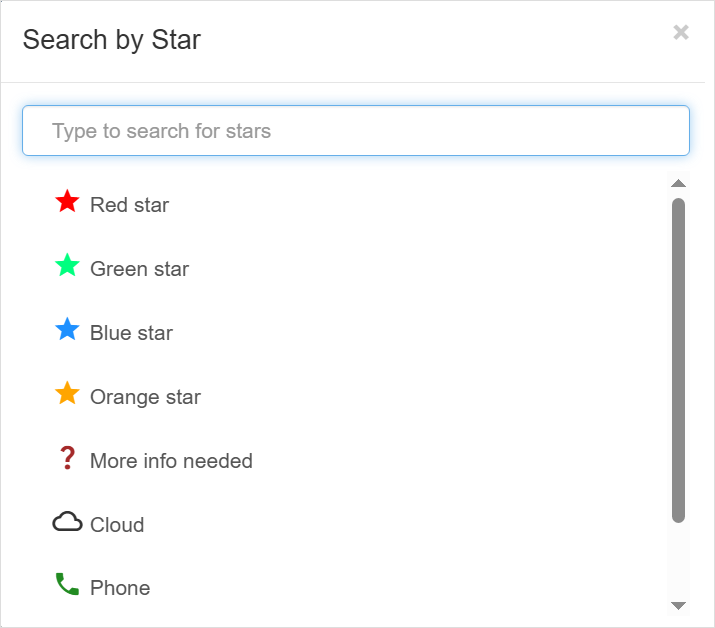
Viewing tickets by star
To view tickets by star:
- Click the More menu in the toolbar.
- Select Search By Star, or press q then s (keyboard shortcut).
- Choose the star you want to view.
- Only tickets with that star will be displayed.
- To return to the regular view, switch to any other view such as My Inbox.